Spring powered clocks usually have one spring per train (e.g. one for the time, one for striking the hour, maybe even a third one for Westminster chimes). The springs are made from tightly coiled steel, and are very robust. They can only be removed using special tools.
Please note: springs are extremely powerful and can do significant harm to your clock, and to you, if released uncontrolled. Please don’t attempt to remove springs from their barrel!
They can last for many years and generally just need carefully removing and cleaning during a service, using the correct tools. However, if rust or other fatigue damages them then they can break in very destructive ways which lead to many knock-on repairs to the clock (e.g. replacing teeth broken by the shock of the force released at the moment of the spring breaking).
One other way a spring can fail is simply by getting “set” – that is, losing its shape and starting to adopt the coiled shape with a dwindling amount of power available to the clock. This can often be experienced around the 5 day point on an 8 day clock, as that’s when the spring’s natural torque starts to decline anyway. If your clock stops around 5 days, or the chimes or strikes become unbearably sluggish, then the remedy is normally to service the movement first. This deals with the most common sources of friction. If, after proper cleaning and any bushing repairs it still only runs for less than 8 days, then spring should be changed.
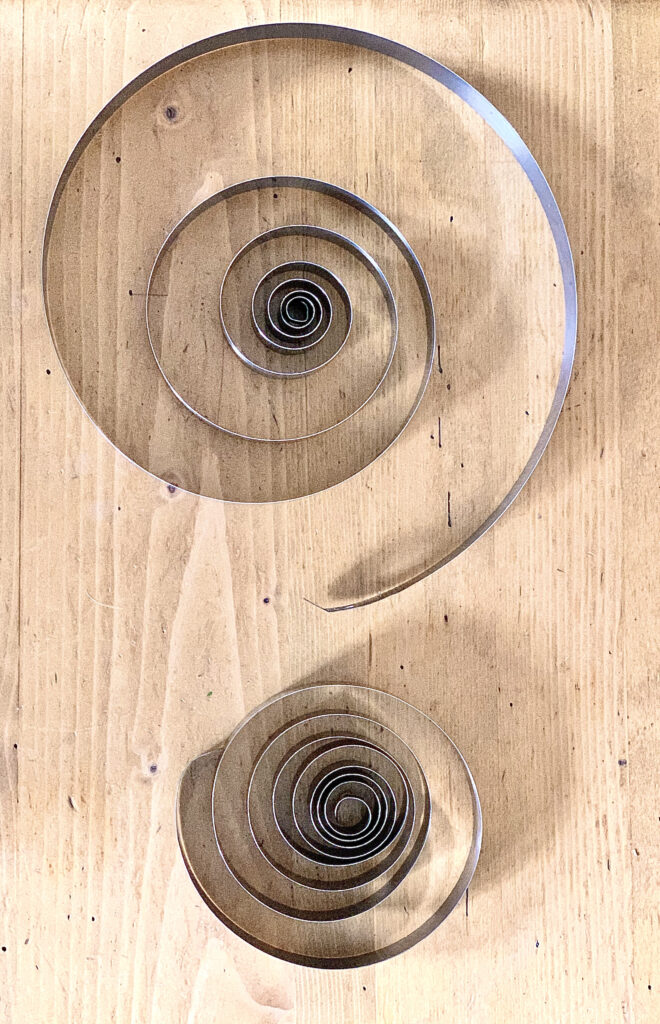
Here’s an example of a new spring (top) and the old spring it replaced, which had become set in the barrel after about 100 years. Old springs shouldn’t be replaced needlessly, as they are probably good quality items and definitely have some historical interest as they get old. On the other hand, any spring showing corrosion or fatigue has to be changed, no questions asked, for safety reasons.

Comparing springs – new top, old bottom